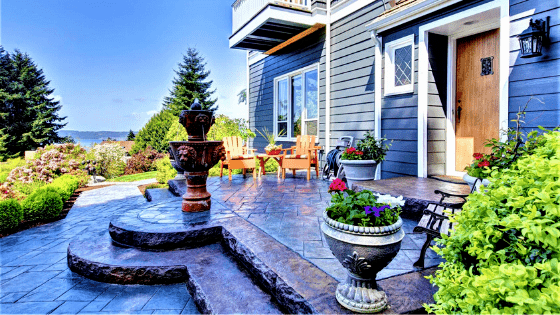
The stone-made pavers definitely play a great look to give your outdoor lawn or driveway a glossy look.
But to make sure that your paver stays in good health, a few things need to be done on a regular basis. And sealing the paver with the top-notch paver sealer tops the list of these tasks.
So, how would you do that if you’re not an expert? This article would guide you through the process of how to apply a paver sealer.
Let’s start-
Step by Step Guide on How to Apply A Paver Sealer?
Step 1: Have the appropriate paver sealer
The first step is going to be regarding the right paver sealer for your job. As you know, there are a handful of variations of these sealers out there and choosing one needs ample attention.
At the first place, there are these two types-
- Water based sealers: Natural color with more durability.
- Acrylic paver sealers: Comes with a glossy finish and looks pretty attractive as well.
Once you have picked up one from these two, you need to be more specific about the color, texture, and size. Based on the amount of paver you have to cover and the kind of color you want them to look like, this very selection is done.
Done with selecting the right sealer for your paver? Good. Let’s proceed to the next step.
Step 1: Gather essential tools
After the sealer, there are a few more things that you would need for the process. The list goes like this-
- A metal sprayer.
- A typical garden hose.
- A rake.
- A roller.
- Sand of polymeric type.
- Push broom.
Make sure that you’ve got these in your box, and proceed.
Step 1: Clean off the surface
Pavers that are made of stones or so, contain a lot of dirt, debris and other contaminants into them. Specially, the joints and the cracks in between the pavers are quite dirty.
Use a brush or go for raking of the entire area where you are supposed to apply the paver sealer. Once the dirt is loosened up, use a water sprayer to take them off from the paver surface.
Once the cleaning is done, take a day or two to dry it off completely.
Step 1: Use the metal sprayer to apply the sealer
Now here is the most actionable part of the process begins. Take a metal sprayer and insert the paver sealer that you’ve selected right on.
For instance, don’t go and seal the entire place all along. Select a particular corner space of the pavers to seal first. If that goes well, proceed with the rest of it. This has to be done because you need to make sure that you have selected the right sealer for the kind of paver you have outdoors.
However, if you don’t want to go with a metal sprayer, a roller can do the job alternatively. But professionals always recommend using a metal sprayer for the best output.
Step 1: Dry, dry, dry
Drying the coat of the sealer plays an equally important role as the application of it. So, once you are done with applying it on the paver, keep it under the open air and let mother nature take care of the drying process. And keep it like that for 24 hours.
In the meantime, to avoid unwanted intruders, you can put a set of barricades around the paver area with a ‘Do not enter’ sign.
Step 1: Re-apply it if necessary
Some pavers won’t get in their best color just after one coat of the sealer. So, what you need to do is repeat the whole process over again and put another layer of the sealer on the paver.
If it looks good with one seal, then you can leave this entire step. But keep it in mind that your paver might need another sealing after one year or so.
Bottom Line
Alright, we’ve reached the dead-end of this discussion on how to apply a paver sealer on your garden or driveway pavers. Hopefully, the steps have been easy to understand and actionable for you.
See you right on our next post!